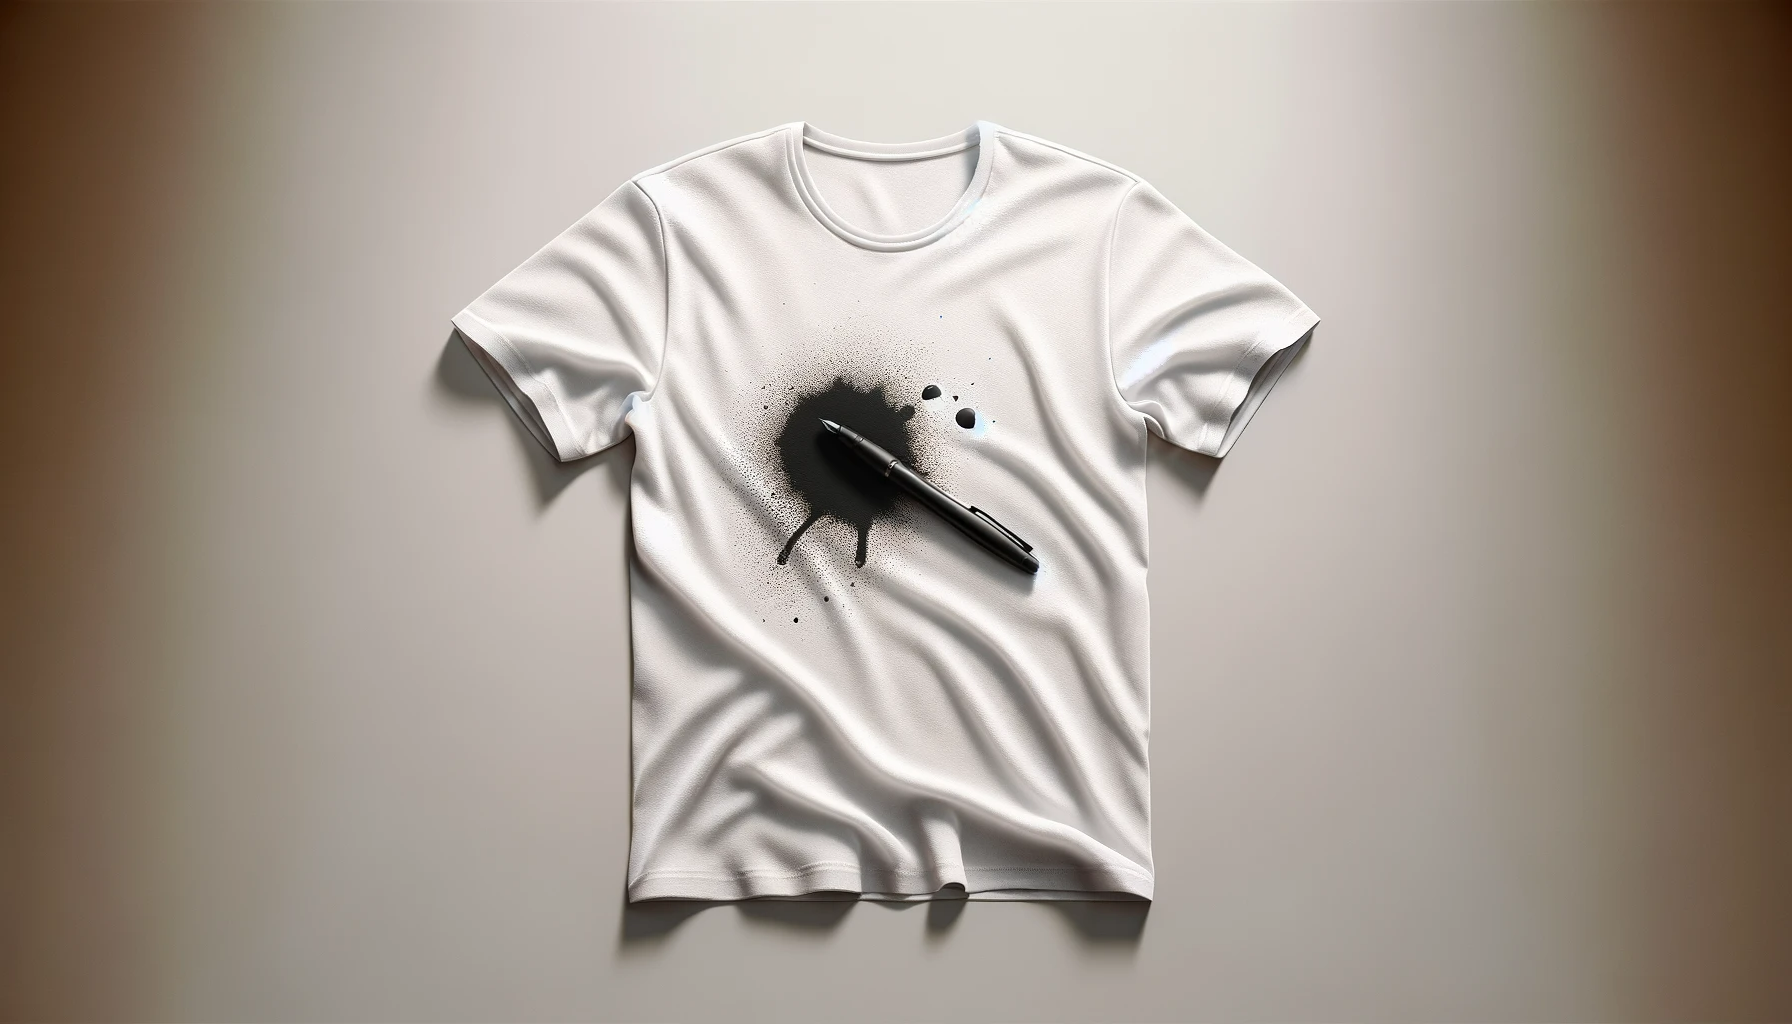
What To Do If Color Bleeds In The Wash: Effective Solutions & Tips
Fabricare Center Blog , Laundry
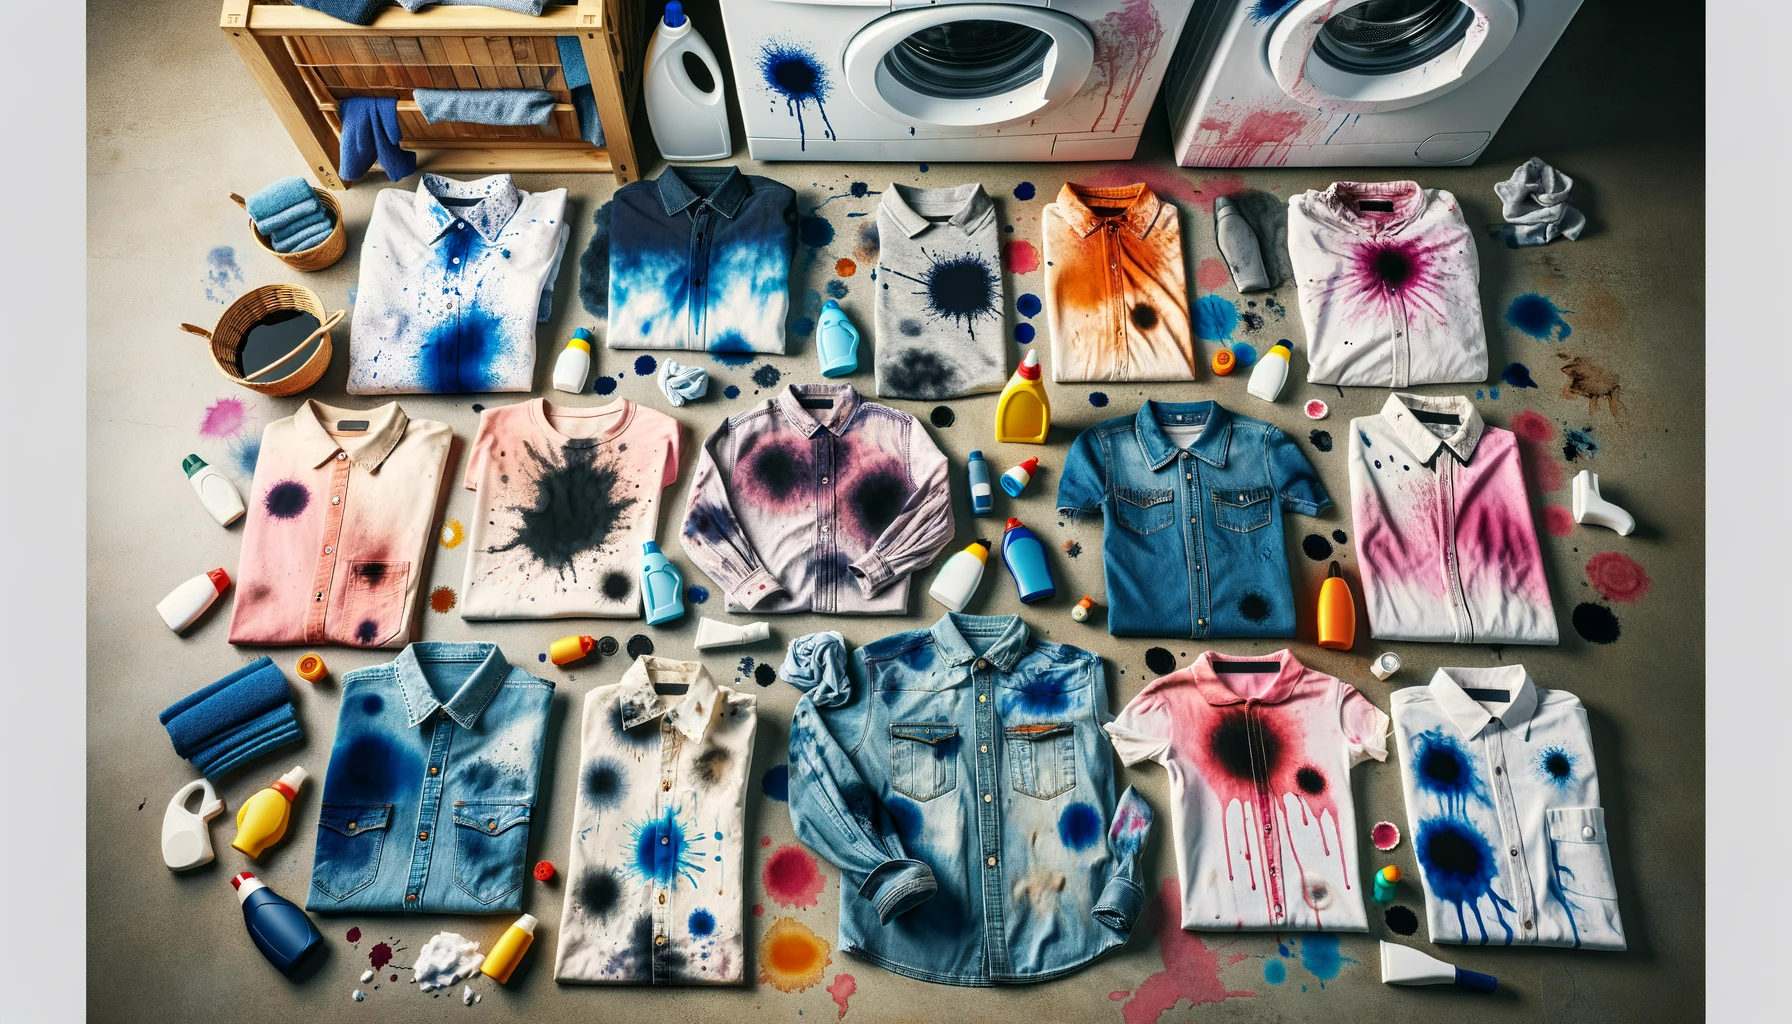
Discovering colors running riot in your laundry can be a heart-sinking moment. Color bleed turns what should be a simple task into a tricky challenge, potentially ruining favorite garments.
This article unveils practical tips and proven solutions to stop color bleed in its tracks, restoring your clothes to their former glory. Keep reading for the rescue plan you need.
Key Takeaways
- Treat color bleed stains in clothes as quickly as possible to prevent colors from setting into the fabric, using cold water for immediate rinses.
- To remove color bleed, avoid using a dryer which can set the stain; instead soak garments with laundry detergent, vinegar or oxygen-based bleach depending on fabric type and dye strength.
- For white items affected by color bleed, use hydrogen peroxide as a fabric brightener and gentle bleach alternative to help lift the unwanted dye.
- Prevent future incidents of color bleeding by sorting laundry properly, incorporating color catchers into wash cycles, and pre-washing new clothing before it enters your regular laundry mix.
- Care for clothes after treating them for color bleed by air – drying flat or on a rack away from direct sunlight and iron using correct settings with a barrier cloth between iron and garment. Store cleaned items properly to maintain their condition.
Understanding Color Bleed
Understanding Color Bleed begins with recognizing the mishap—a vibrant garment turns your laundry water into a swirling palette, and suddenly other items are sporting unintended hues.
Acting quickly is crucial, as fresh color bleed stands the best chance of being reversed before it settles into a new home on your favorite fabrics.
How Color Bleeds Happen
Color bleeds occur during the laundry process when dyes from one item of clothing transfer to another. This is more likely when hot water loosens the dye’s grip on fabric fibers, allowing them to mingle with other garments.
Clothes that aren’t colorfast are particularly prone to this problem, releasing their colors into the wash water. As a result, your bright red sock might turn your white t-shirts pink.
To minimize the risk of bleeding, sorting clothes based on color and washing temperature is crucial. Reds should stay with reds, blues with blues, and so forth—especially in cold water cycles that better protect against dye loss.
Color-catcher sheets can be a wardrobe saver by trapping errant dyes before they cause mischief on other fabrics. Make sure you separate new items until you’ve tested their colorfastness since these are often the worst offenders for unexpected color runs in your laundry.
The Importance of Treating it Immediately
Acting quickly to treat color bleed in fabrics is crucial. As soon as dyes transfer from one garment to another, they begin to set into the fibers of your clothing. The longer these errant colors sit, the harder it becomes to remove them, risking permanent discoloration and ruining your apparel’s pristine look.
Cold water can be a first line of defense; it helps prevent dye molecules from bonding with fabric, increasing your chances of successful stain removal.
Immediate attention also preserves the longevity and appearance of clothes by maintaining fabric quality and color fastness. Laundering instructions often underscore prompt treatment for any textile discoloration due to its efficacy in preserving fabric integrity.
After you’ve dealt with the color bleed, proper laundry care steps like sorting clothes and using color catchers can help you avoid future mishaps—moving on to how we can remove those stubborn stains effectively.
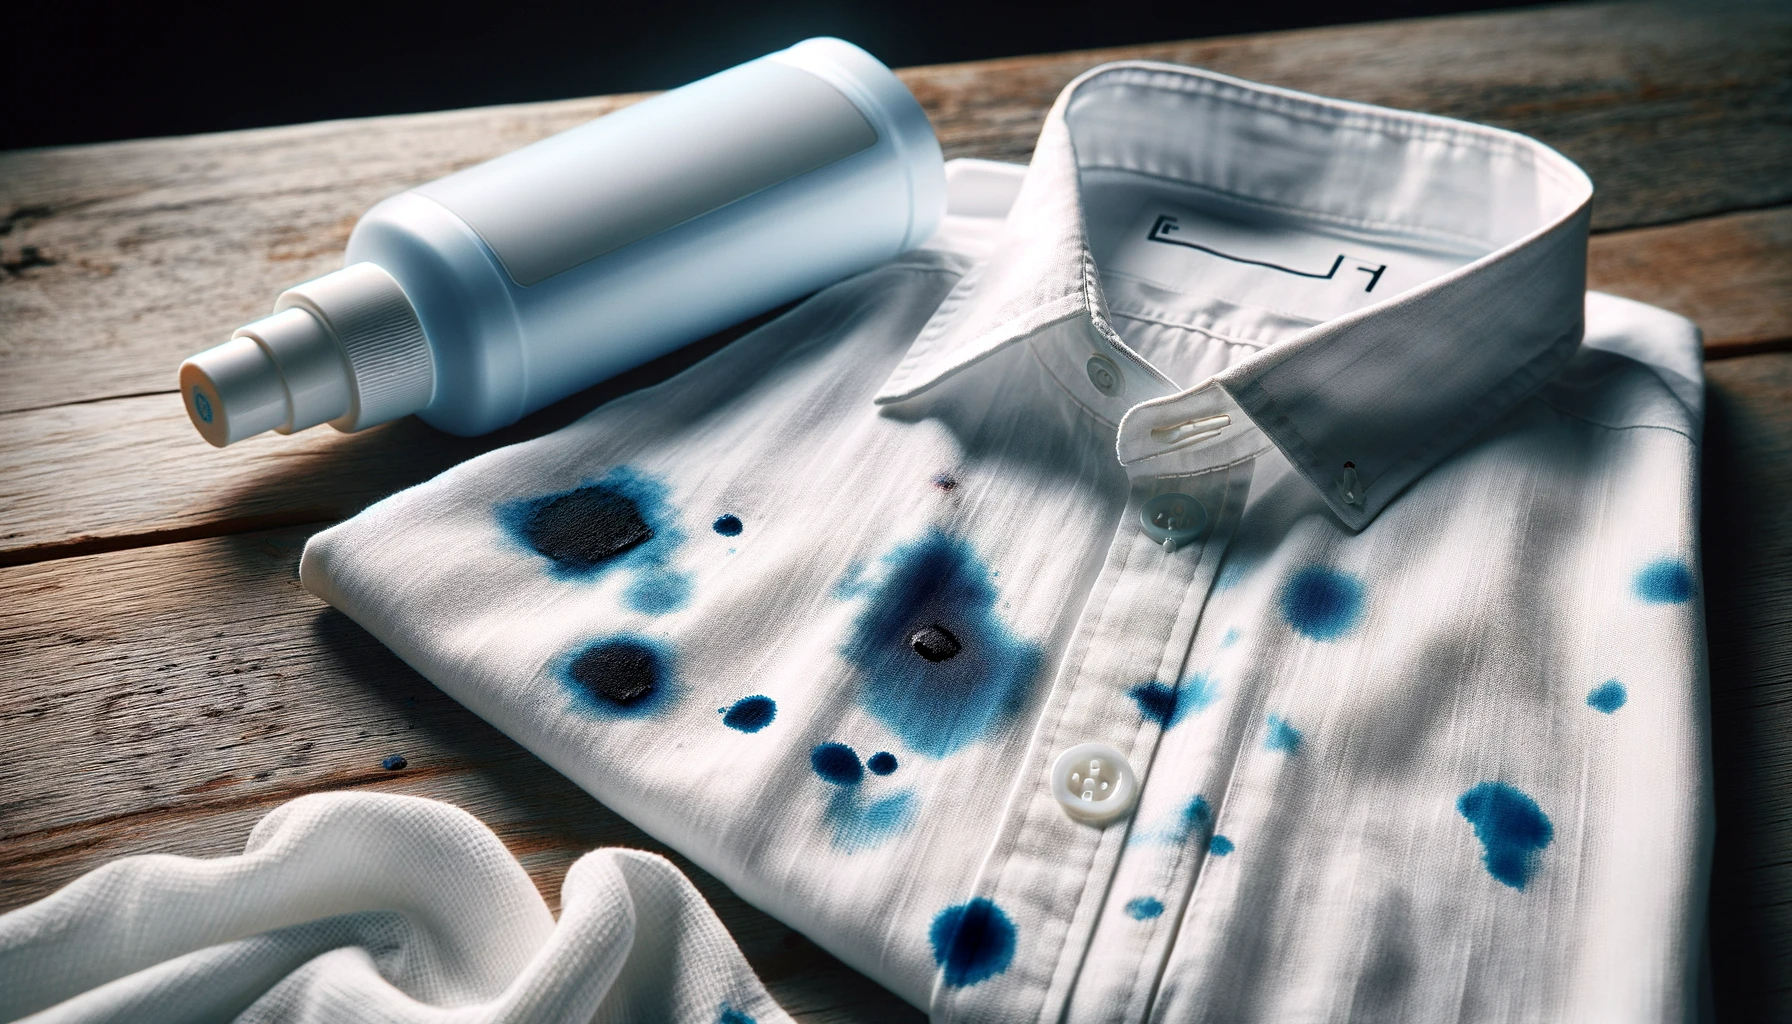
How to Remove Color Bleed from Clothes

When color bleed muddies your favorite garments, don’t despair. Uncovering the right techniques and household remedies will restore your clothes to their vibrant best without setting the stains in stone.
Do Not Put Clothes in the Dryer
If you’re dealing with color bleed on clothes, keep them out of the dryer. The heat can set stains and lock in unwanted dye, making it much more difficult to restore garments to their original state.
Always air dry these items until the issue is fully resolved.
Handle wet clothes that have bled with care by laying them flat or hanging to dry. This approach prevents additional stress on the fabric which can occur from tumbling in a hot dryer.
Plus, allowing fresh air and time to do the work sets the stage for successful stain removal later on.
Make a Laundry Detergent Solution and Soak
Avoiding the dryer is crucial, but moving forward with stain removal is equally important. After taking the clothes out of the wash, your next step involves dealing with the color bleed directly and effectively.
- Choose a gentle laundry detergent that is suitable for the fabric type that has been affected by dye bleeding.
- Fill a sink or bucket with cold water, ensuring there’s enough to submerge your stained clothing completely.
- Mix in a half – cup of laundry detergent to create a consistent soapy solution.
- Submerge your color – stained clothes in this mixture and let them soak. A period of 30 minutes should be enough for light stains, but heavier stains may require up to several hours.
- Gently agitate the water every now and then to help loosen the fugitive dyes from the fabric.
- Keep an eye on your soaking items; you don’t want colors from different items to transfer amongst each other.
- Once soaked, check if the stain remains. If it does, you may need a stronger treatment such as oxygen bleach or vinegar.
- After soaking, rinse thoroughly with cold water until all soap suds are gone.
Try Vinegar or Oxygen-Based Bleach
Vinegar and oxygen-based bleach are effective solutions for tackling color bleed on clothes. They work well to restore fabric dyed unintentionally without causing further damage.
- Mix white vinegar with an equal part of water to create a solution capable of reversing color bleed.
- Submerge the affected garment in this mixture, ensuring it’s fully soaked for optimal stain treatment.
- Leave the clothing in the vinegar – water solution for up to 30 minutes, occasionally agitating gently to help loosen the fabric dye.
- Rinse the item thoroughly with cold water after soaking to remove any lingering vinegar scent and residue.
- To utilize oxygen bleach, identify a non – metal tub or basin that’s suitable for soaking your garments.
- Fill the tub with warm water and add a recommended amount of oxygen bleach according to package instructions.
- Place the stained clothing into the solution, making sure it is completely immersed for effective dye removal.
- Allow it to soak for around 30 minutes; this allows time for oxygen release which breaks down unwanted dye bonds on fabric fibers.
- After soaking, check the stain. If necessary, repeat the process until you achieve satisfactory results before regular washing.
- Wash the treated clothes as usual but separate them from other laundry to prevent any possible color transfer from happening again.
Hydrogen Peroxide for White Items
Hydrogen peroxide is a versatile laundry additive that can rescue your white items from color bleed mishaps. It’s a fabric brightener and bleach alternative that has the power to tackle stains without harsh chemicals.
- Start by identifying any white clothing affected by color bleed.
- Remove these pieces from the rest of your laundry to avoid spreading the stain.
- Fill a sink or bucket with cool water and add half a cup of hydrogen peroxide.
- Submerge the white garments in the solution, making sure they’re fully soaked.
- Allow them to sit in this oxygenating agent for up to one hour, checking on them periodically.
- Gently scrub any persistent stains with extra hydrogen peroxide using a soft brush or cloth.
- Rinse the clothes thoroughly under cold water to wash away any remaining dye or cleaning solution.
- Machine wash the items with a regular dose of laundry detergent and an added cup of hydrogen peroxide for enhanced colorfastness and whitening effects.
- Air – dry the clothes away from direct sunlight, which can help prevent further bleaching or damage to the fibers.
Preventing Color Bleed in the Wash
Discover simple yet effective strategies that safeguard your vibrant wardrobe against the mishaps of color bleeding, ensuring your favorite garments maintain their brilliance wash after wash.
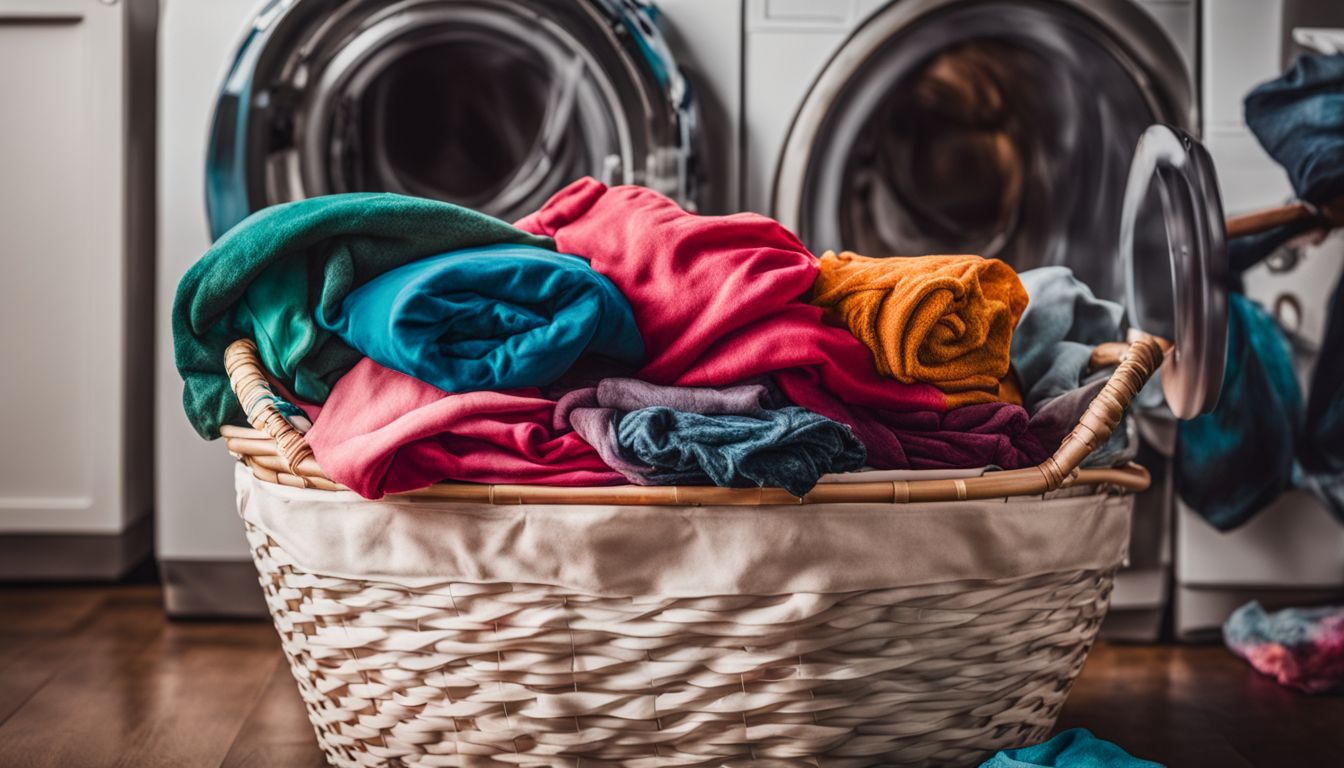
Sorting Clothes Properly
Sorting clothes properly is a key step in preventing color bleed and preserving the quality of your garments. Start with separating your dirty laundry into piles: one for whites, another for darks, and a third for brights.
This simple act goes a long way toward protecting fabrics from dye transfer during wash cycles. Make sure to check labels for colorfastness too; some clothes are more likely to bleed than others.
Turn clothes inside out before tossing them into the washing machine, especially brightly colored items or jeans. Wash them on a gentle cycle with cold water to further safeguard against bleeding and fading.
Taking these preventive measures can extend the lifespan of your wardrobe, keeping colors vibrant wash after wash. As you load up the washer with properly sorted clothes, consider how using color catchers could add an extra layer of protection against accidental dye runs.
Using Color Catchers
Incorporate color catchers into your laundry routine to shield your garments from unexpected dye transfer. These innovative sheets readily snatch up any floating dyes in the water, keeping them far away from other clothes.
As a proactive step, particularly with new items or those notorious for bleeding like red fabrics, tossing a dye trapping sheet in the wash can save you countless hours of frustration and keep your whites bright and colors true.
Utilize these dye absorbers each time you’re faced with mixing various colored clothes in one load. They serve as laundry guardians that trap excess dye and ensure it doesn’t settle on other pieces.
This smart washing tactic significantly lessens the risk of color bleed and extends the life and vibrancy of all your clothing items. With this technology at hand, each wash cycle becomes an opportunity to preserve the pristine look of your wardrobe without fear of colors running wild.
Pre-Washing New Clothes
After catching those rogue dyes with color catchers, take a further proactive step by pre-washing new garments. This simple act of laundry care can be crucial in maintaining the integrity of your clothing’s hues.
It not only tests for colorfastness but also removes excess dye that could cause bleeding during subsequent washes. Make it a habit to pretreat your fresh-off-the-rack apparel: run them through a gentle cycle with cool water and mild detergent before mixing them in with the rest of your wardrobe.
Pre-washing isn’t just about fabric protection; it also contributes to garment care by ensuring any chemicals or residues left from the manufacturing process are washed away before they touch your skin.
By treating each new piece individually, you set up strong defenses against unwanted dye transfers, ensuring your clothes stay vibrant and pristine after every launder. Remember to check washing instructions on tags—some items might benefit from hand washing or special detergents designed for preserving fabric dyeing—and adhere strictly to these guidelines for optimal clothing maintenance.
Tips for Caring for Color-Bleed Affected Clothes
Once you’ve successfully tackled the issue of color bleeding, maintaining the pristine condition of your clothes is crucial. Let’s explore strategic ways to dry, iron, and store your garments that ensure the vibrancy and longevity of each piece in your wardrobe.
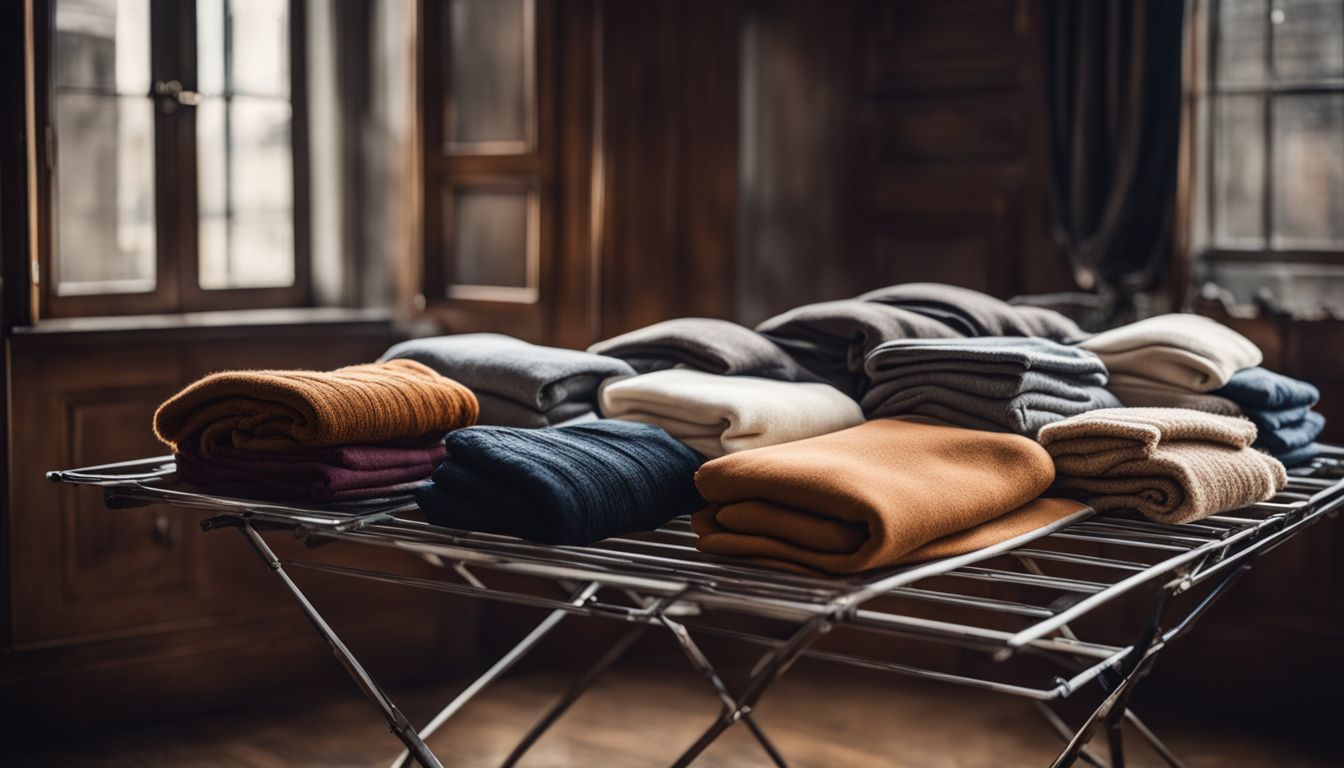
Drying Tips
Drying color-bleed affected garments requires careful attention to avoid further damage. Here’s how to handle your laundry to maintain the quality and appearance of your clothes after treating color bleed.
- Lay flat to dry: Spread the garment out on a clean, dry towel and roll it up to gently squeeze out excess moisture without wringing, which can distort the fabric’s shape.
- Use a drying rack: Hang color-bleed stained items on a drying rack where air can circulate around them, speeding up the drying process without causing additional stress to the fabric.
- Avoid direct sunlight: While natural light can help some stains fade, direct sunlight might set other types of color bleed deeper into fabrics. Instead, opt for indirect light or a well-ventilated shade.
- Tumble dry on low heat: If you must use a dryer, opt for the lowest heat setting. Excessive heat may fix stains and cause shrinkage or further bleeding.
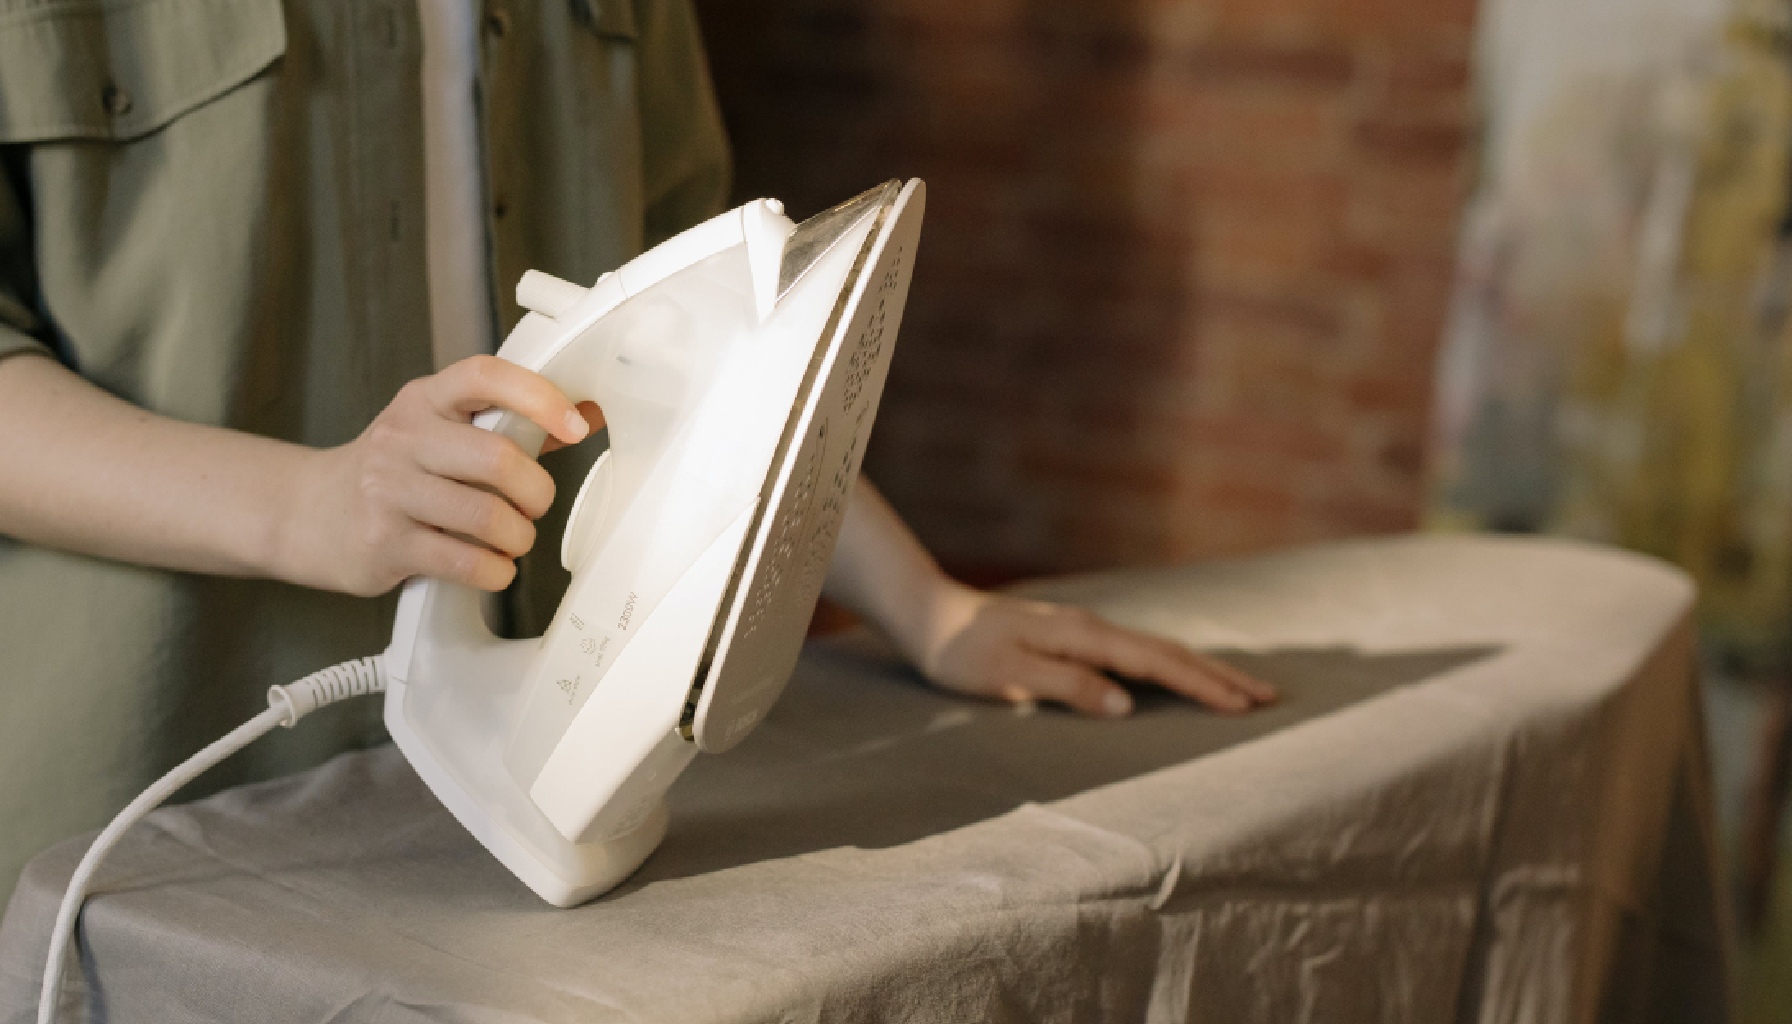
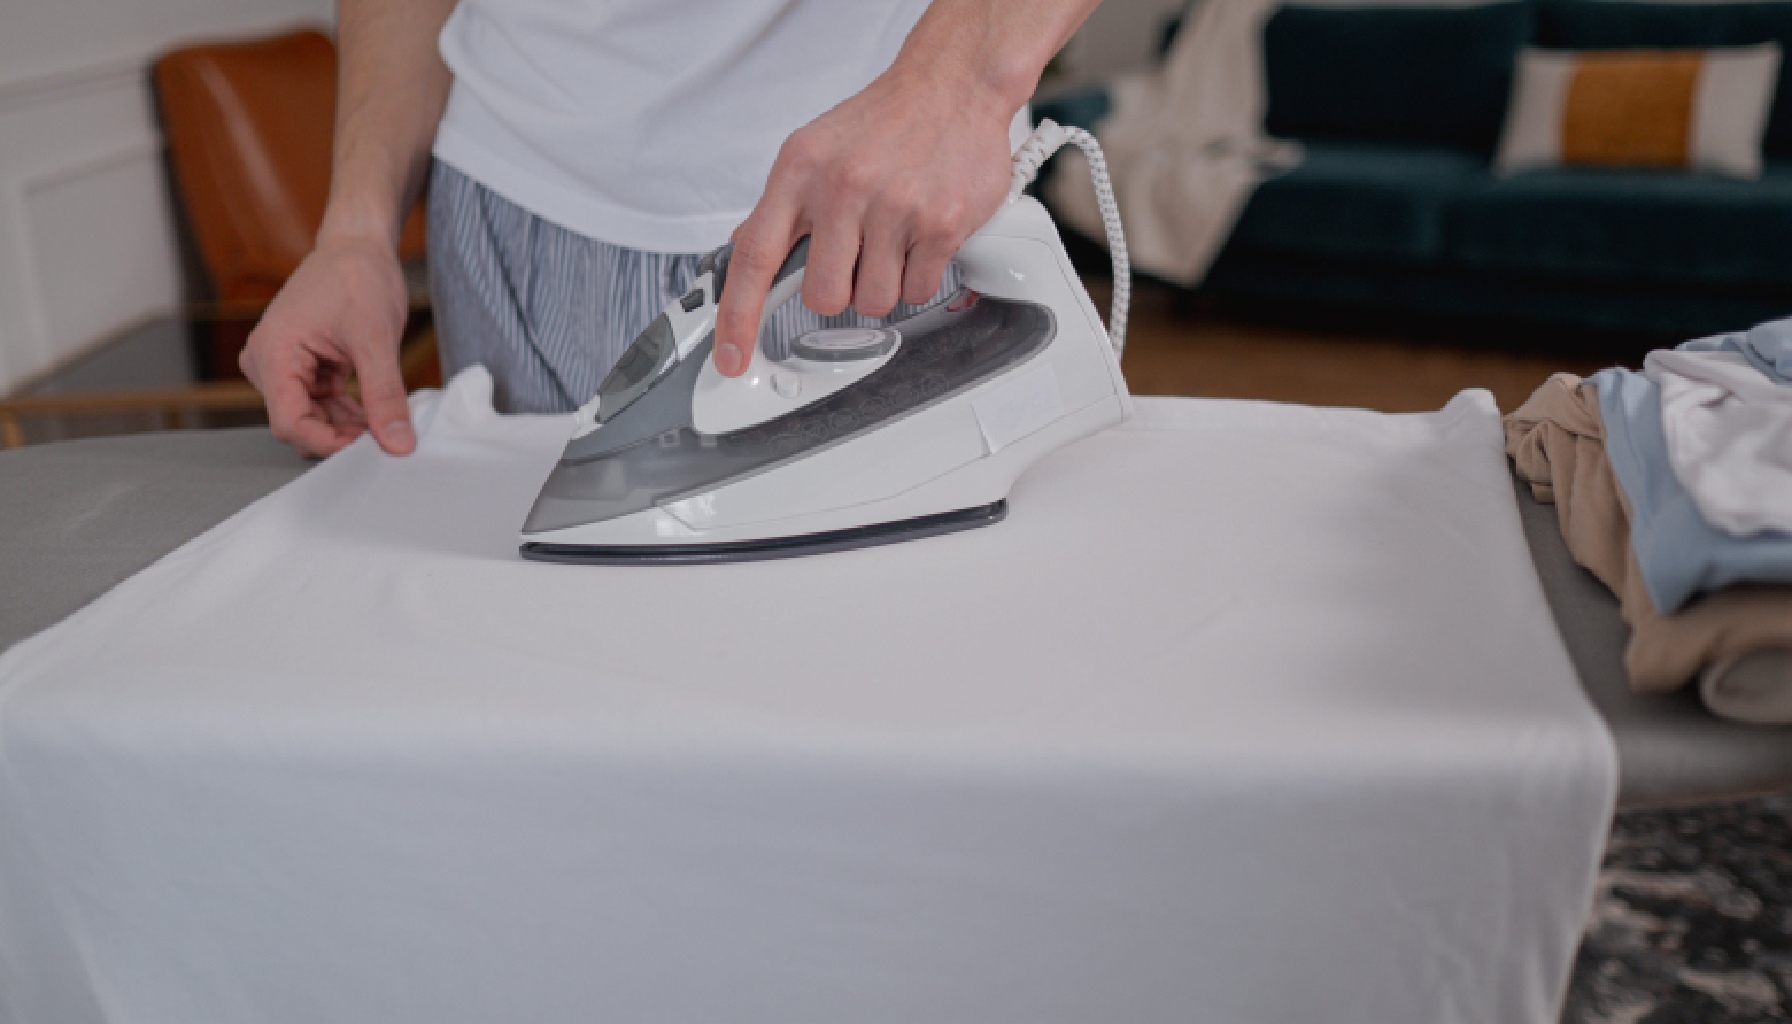
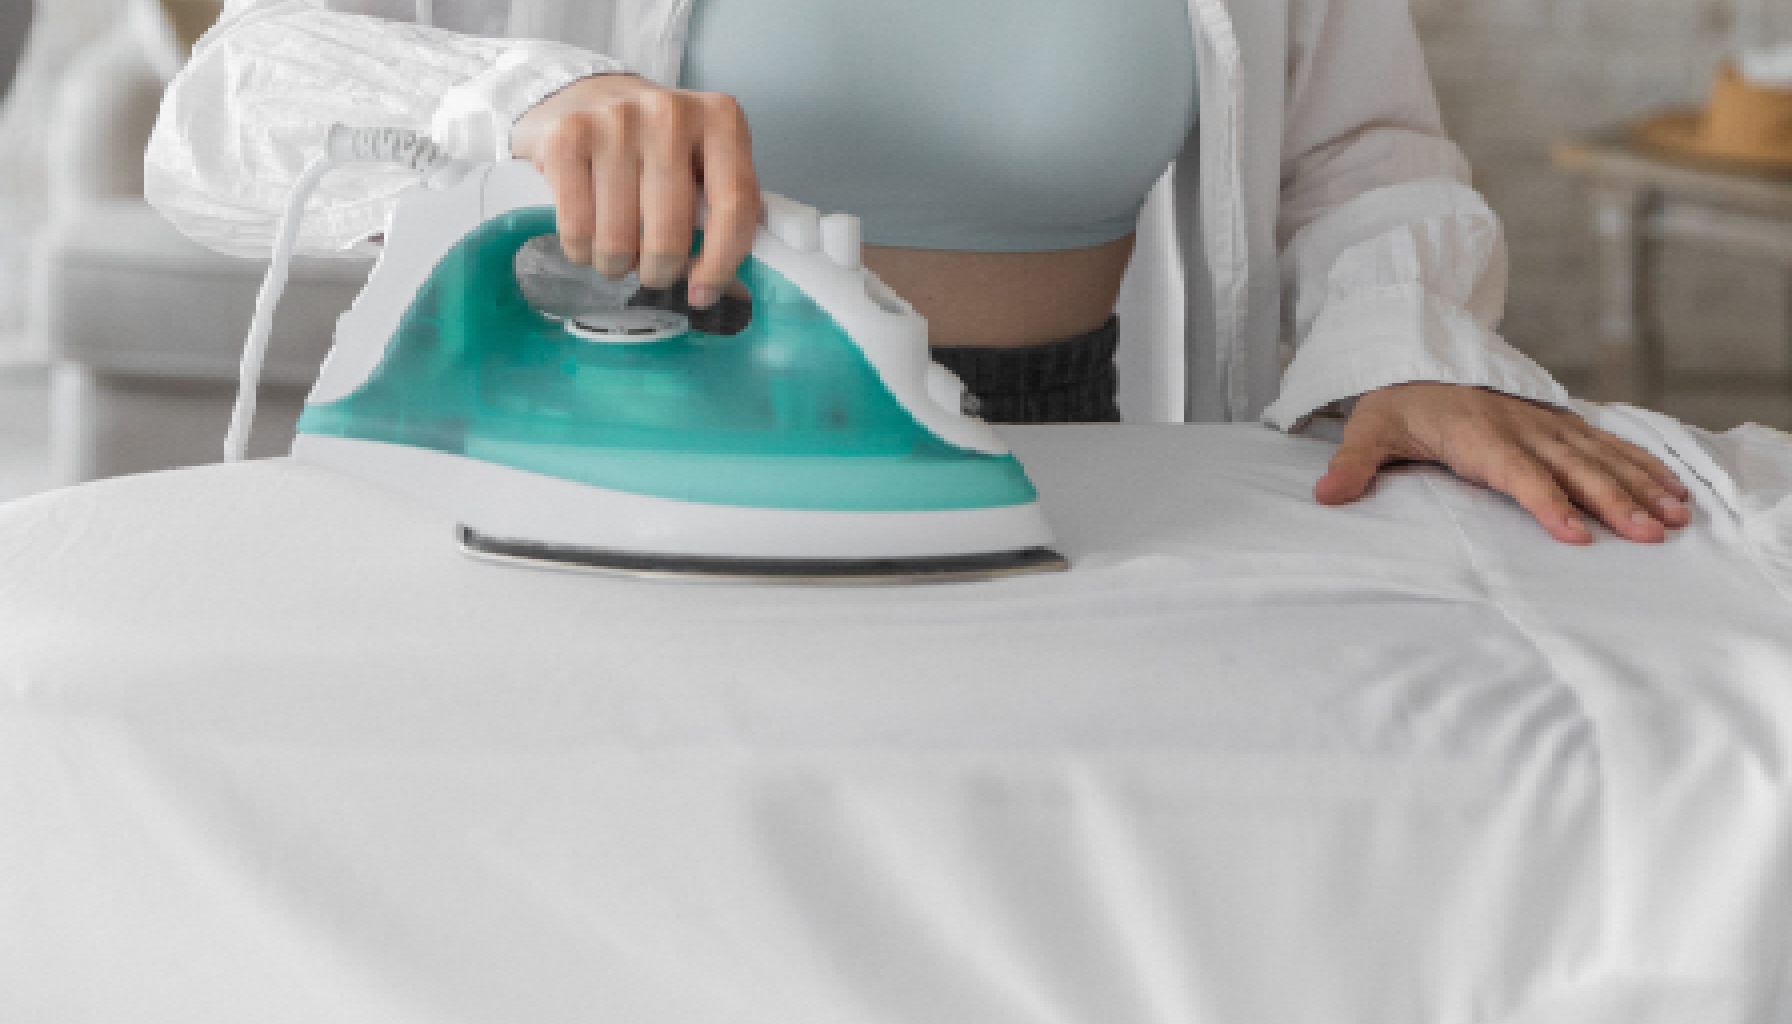
Ironing Tips
Moving from drying to ironing, it’s crucial to handle color-bleed affected clothes with care. Before you reach for the iron, make sure the garment is clean and free of any color bleed; otherwise, heat may set the stains permanently.
Select the correct temperature setting for your fabric type—delicate fabrics require a lower heat setting to prevent damage. For items that have suffered from color bleeding, lay a pressing cloth or white towel on top to act as a barrier.
This simple step helps protect against unwanted dye transfer during ironing.
Keep in mind that each material needs its own approach: clothing care advice often includes using steam or dry heat depending on what you’re ironing. Avoid letting the iron sit too long in one spot, which can scorch some fabrics and worsen existing issues with color bleed areas.
The goal is not only to remove wrinkles but also to preserve the integrity of your colorful wardrobe without creating new problems. With patience and attention to detail, following these fabric care tips ensures your garments remain vibrant and well-maintained after every wash-and-iron cycle.
Properly Storing Clothes
After ironing clothes to perfection, ensuring they’re correctly stored will preserve their color and shape. Hang garments on sturdy hangers inside a closet where they aren’t crammed against each other; this prevents fabric from getting wrinkled or transferring colors onto adjacent pieces.
For knitted items like sweaters that can stretch out of shape, fold them neatly and stack on a shelf or in a drawer away from direct sunlight which could cause fading.
Keep your drawers and closets dry because moisture can lead to mildew, which not only damages fabrics but can cause unwanted color changes. If you’ve treated clothes for color bleed, it’s crucial to store them in optimal conditions to maintain their newfound colorfastness.
Use breathable garment bags for delicate or seldom-worn outfits as an extra layer of protection against dust and potential color transfer from other textiles. Remembering these simple yet effective storage techniques ensures that your laundry efforts result in long-lasting vibrant clothing ready for any occasion.
Conclusion
Color bleed in the wash can turn a simple chore into a headache, but armed with these strategies, you’re now ready to tackle it head-on. Remember to act quickly and use gentle methods to save your clothes from stubborn stains.
Embrace the habit of sorting and pre-treating garments as your first line of defense against dye transfer. With these tips at your disposal, every load of laundry has the potential to come out looking as vibrant and spotless as when you first fell in love with those pieces.
Keep color where it belongs—in your fabrics, not mixed up in the wash!
FAQs
1. What should I do if colors bleed onto other clothes in the wash?
Remove the stained clothes from the washer and rinse them under cold water as soon as possible to tackle color bleeding.
2. Can vinegar help prevent colors from bleeding in the future?
Yes, adding a half-cup of white vinegar to the wash can help to set dyes and reduce future color bleeding.
3. Are there any specific laundry detergents that prevent color bleed?
Look for detergents labeled “color-safe” or “for colors” which are designed to lessen the risk of color bleeding.
4. Is it necessary to sort my laundry by color every time I wash?
Sorting laundry by similar colors helps prevent color bleed and keeps your garments vibrant.
5. If my clothing has bled during washing, is it ruined forever?
Not necessarily; acting quickly with proper treatment methods can often save your clothes after a color-bleed incident.